SnowSQL Installation and Configuration
- How-Tos FAQs
- September 29, 2020
SnowSQL Installation and Configuration
Head over to Snowflake Client Repository and download the latest patch set:
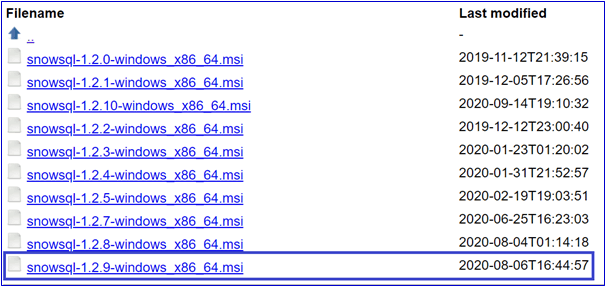
The latest stable version, in this case, was boxed, 1.2.9 (major.minor.patch).
Next, create a SnowSQL folder in D:/
(This is a best practice for all software applications that we use, i.e. to install in D:/).
Once the folder is created and the latest snowsql…msi file is downloaded, double-click the application to begin the installation.
You may optionally choose to run as administrator, but it is not mandatory. Follow the installation wizard and be sure to change the destination folder to a newly created
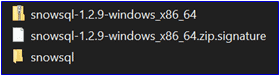
D:/SnowSQLYou should now be able to see an installation zipped folder, namely snowsql-1.2.9-windows_x86_64.zip, as below:
![]()
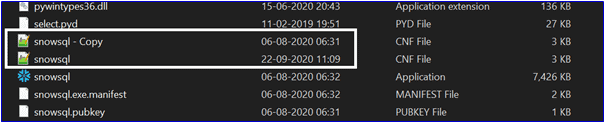
Unzip the folder and rename it to snowsql as below:
This completes the installation process.
Configuration
Enter the unzipped folder, i.e. snowsql and take a backup of the “snowsql.conf” as below:
Edit “snowsql.cnf” in your favourite text editor as below:
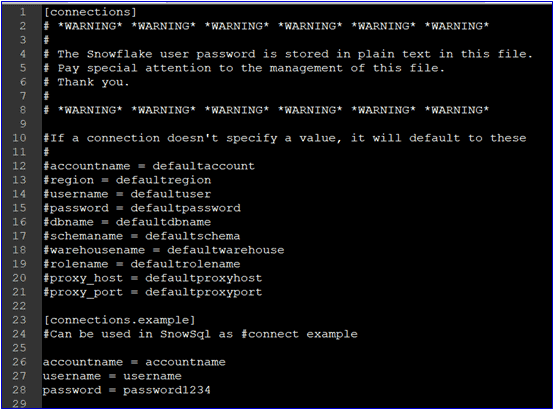
Under [connections] block, look for Account and Credential information. Hit the return key (i.e. “Enter”) and add a new “Named Connection” block as mentioned below(please note, your information may vary):
[connections.trial_account]
accountname = ab12345.canada-central.azure
username = ********
password = "********"
trial_account is a random name that helps to store connection information, thus facilitating “named connections”.
accountname is your account information plus region (region is no longer required now) – make sure to enter as above.
username and password are your login information.
Quick note about password: If you have any special characters, be sure to enclose within single or double quotation marks (‘’ or “”).
Lastly, if you have quotation marks in your password, use backslash (“\” without quotes) to escape the quotes.
The above basic configuration should enable you to access your Snowflake account. There are other several configuration options within this file, which you may want to explore directly via Snowflake’s comprehensive documentation itself.
For that, please visit – https://docs.snowflake.com/en/user-guide/snowsql-config.html#configuration-options-section.
Getting into SnowSQL
If you have followed this document, your unzipped snowsql folder should be in the following path:
D:/SnowSQL/snowsqlHead over to this path using command prompt (CMD) as below:
D:/
cd SnowSQL/snowsql
At the prompt, there are 2 options to access Snowflake via SnowSQL, i.e., either providing all configuration information at run-time or named connections. Let’s see the syntax for both here:
snowsql -a ab12345.canada-central.azure -u **********It then prompts for password, post which, we’re able to see the SnowSQL prompt.
Similarly:
snowsql -c trial_accountAnd, we’re returned a SnowSQL prompt as above.
This completes the SnowSQL installation and configuration