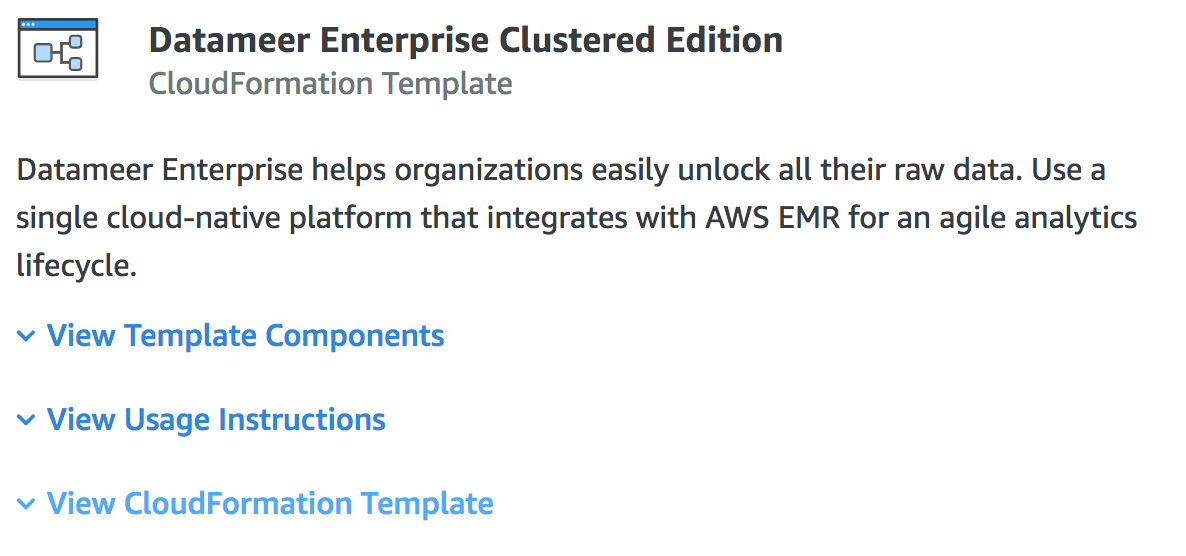
Upgrading Datameer on AWS
Upgrading to a New Version
If upgrading Datameer Enterprise from version 7.2.8.1 to 7.4.4.1 or above, delete the existing stack and deploy new environment from the 7.4.4.1 CFT available from the Marketplace. Datameer database needs to backed up first and restored in the new environment.
Upgrade Considerations
- Upgrading to the new version of Datameer Enterprise is executed via applying a new CloudFormation Template to the current Datameer stack. The CloudFormation Service performs an automatic difference check between the existing stack and a new template, and only upgrades components that have changed.
- Before performing an upgrade, review the list of currently running or queued jobs in the System Dashboard and make sure that there are no jobs running or scheduled. Jobs in progress can be stopped by the Pause Job Schedule action.
- Datameer Enterprise version 7.2.8.1: default deployment of Datameer Enterprise includes a MySQL database ("DAP"). The database contains all metadata information relating to Datameer artifacts and must be backed up prior to upgrade in a location outside the EC2 instance where Datameer is running. After the upgrade process is complete the database needs to be restored into the new EC2 instance. You can then continue using the Datameer service without any loss of data.
Backing up Datameer Database (Datameer Enterprise version 7.2.8.1)
- SSH into the Datameer instance. For instructions on how to connect to your instance via SSH, see Connecting to Your Linux Instance Using SSH.
Execute the following command to retrieve MySQL database password. Copy the password displayed on the screen.
cat /opt/datameer/current/conf/default.properties | grep system.property.db.password= | cut -d '=' -f 2
Create a backup of the Datameer database to the file with the following command. This will prompt you for database password.
mysqldump -u dap -p dap > ~/dap_dump.sql
Since the current EC2 instance with Datameer will be terminated during the stack upgrade process, the database backup needs to be transferred to a location outside the instance - like an S3 bucket. This is achievable via AWS Command Line Interface (CLI). If this is your first time using AWS CLI, it needs to be installed on the EC2 instance by running the following commands:
sudo apt install awscli
aws configure
Execute the following command to copy the database backup file to the S3 bucket (make sure you have access to that S3 bucket):
aws s3 cp dap_dump.sql s3://[bucket name]
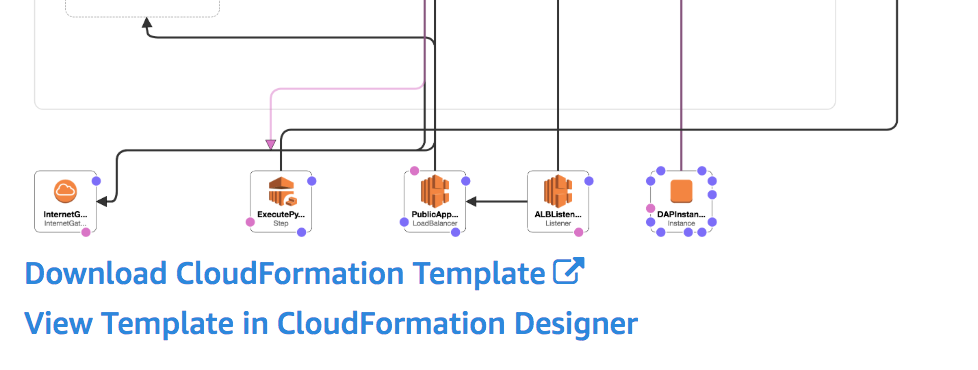
Downloading Datameer Enterprise CloudFormation Template
- In the Datameer Enterprise product listing on the AWS Marketplace, locate Usage Information and expand the View CloudFormation Template section.
- Click Download CloudFormation Template at the bottom of the template diagram and download the template locally.
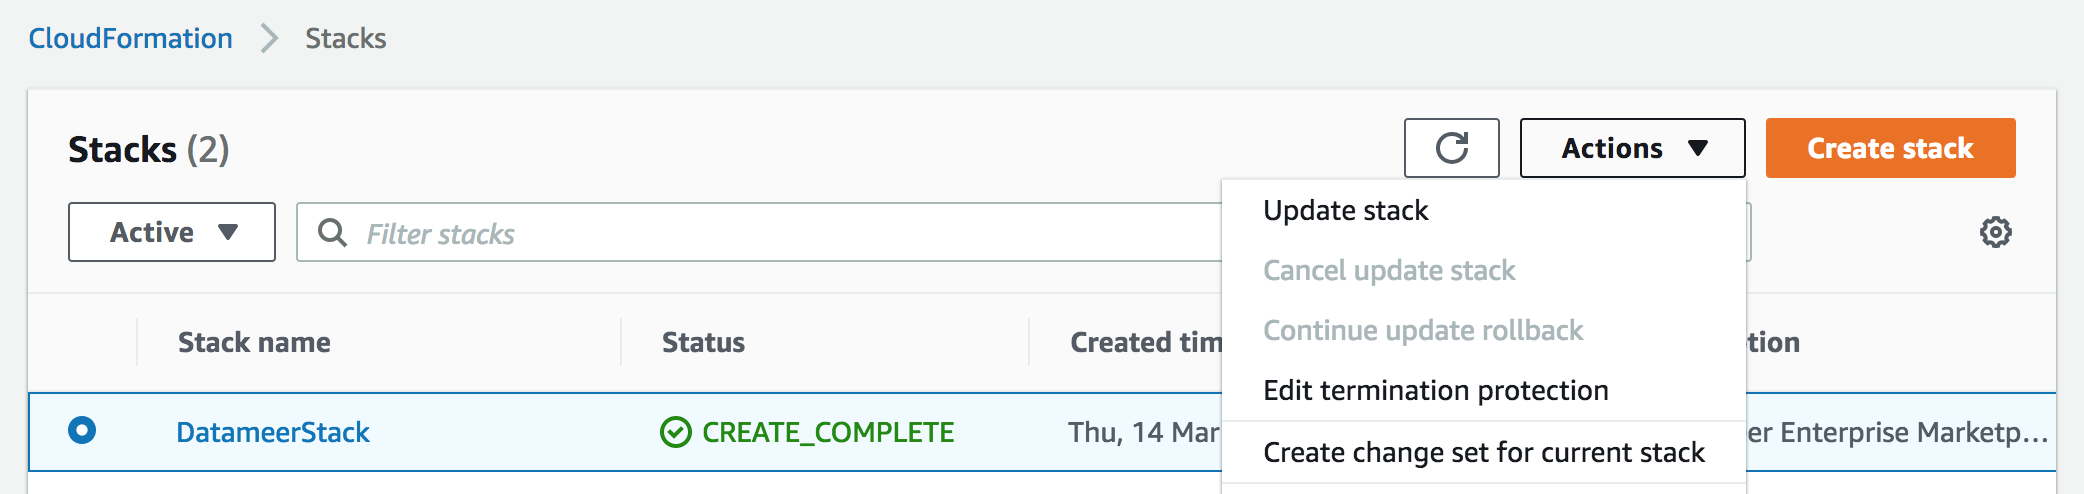
Upgrading Datameer Enterprise Stack
- From the CloudFormation console, select the stack that was created using the previous version of Datameer Enterprise.
- From the Actions menu, select Update stack.
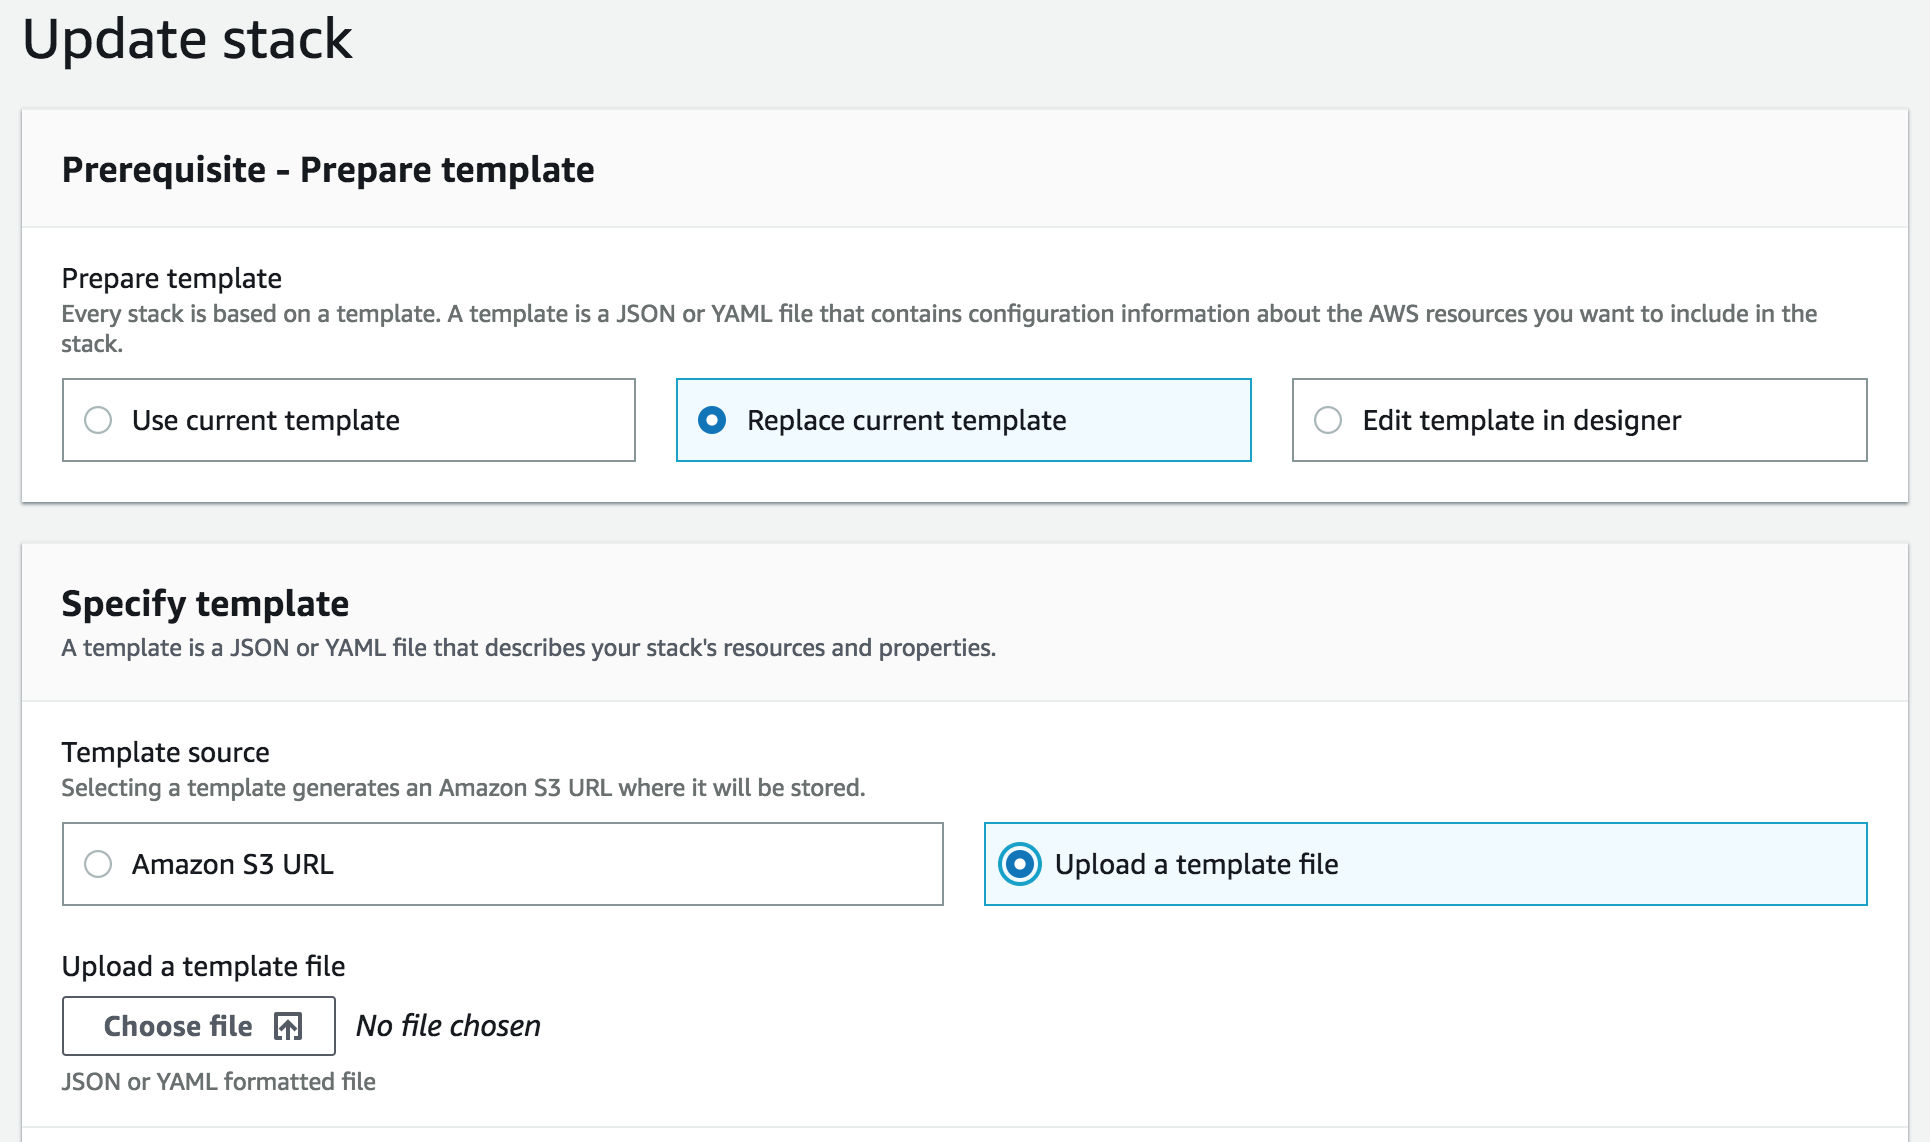
- On the Update stack page, select the Replace current template option.
- For a Template source, select Upload a template file and choose the file from the local location (previously downloaded from the Datameer Enterprise product listing).
- Click Next.
- Leave options on the Stack Details screen as configured previously, click Next.
- Click Next on the Stack Options screen.
- On the Review screen, click Update Stack.
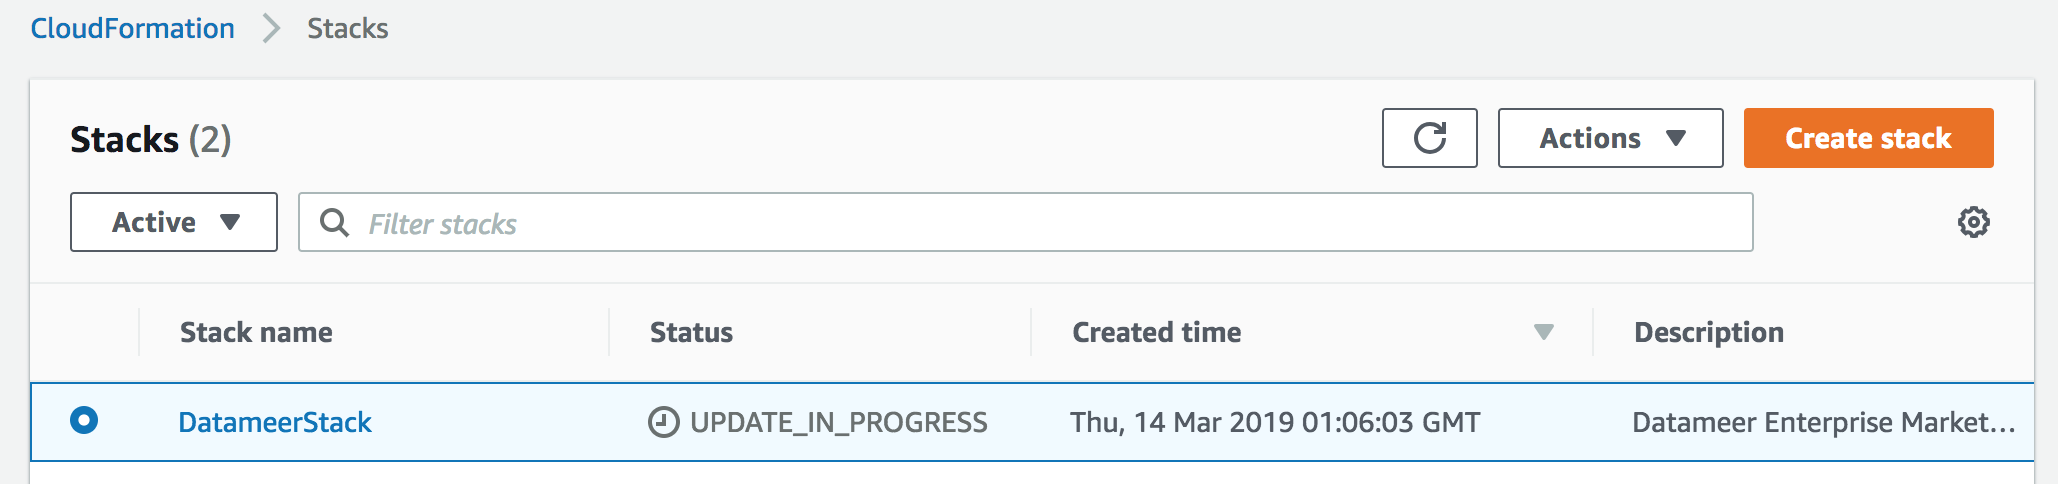
- The stack now appears in the list of stacks in the CloudFormation console with an UPDATE_IN_PROGRESS status.
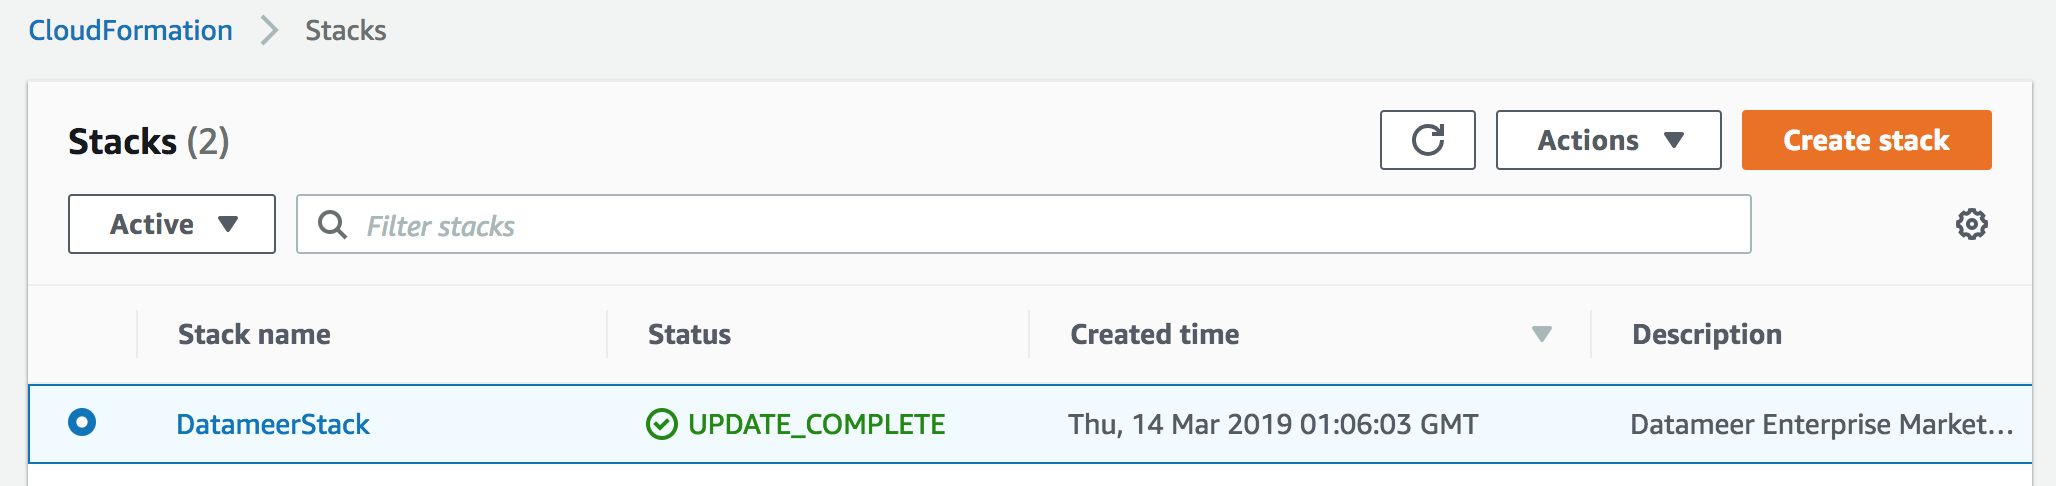
- Once the stack update is complete, the status changes to UPDATE_COMPLETE.
Restoring Datameer Database (Datameer Enterprise version 7.2.8.1)
- SSH into the Datameer instance. For instructions on how to connect to your instance via SSH, see Connecting to Your Linux Instance Using SSH.
Copy the Datameer database backup file previously saved in your S3 bucket into the home directory:
aws s3 cp s3://dm-marketplace/dap_dump.sql .
Restore the database from the backup file with the following command. This will prompt you for the database password.
mysql -u dap -p dap < ~/dap_dump.sql
Updating the Database Schema (Datameer Enterprise version 7.2.8.1)
- SSH into the Datameer instance. For instructions on how to connect to your instance via SSH, see Connecting to Your Linux Instance Using SSH.
With the new version of Datameer Enterprise the database schema might change. Execute the following command to update the database schema. The script automatically creates the database backup to preserve and restore the data, if needed.
cd /opt/datameer/current
sudo ./bin/upgrade_db.sh
Updating the Database Schema (Datameer Enterprise version 7.4.4.1 and above)
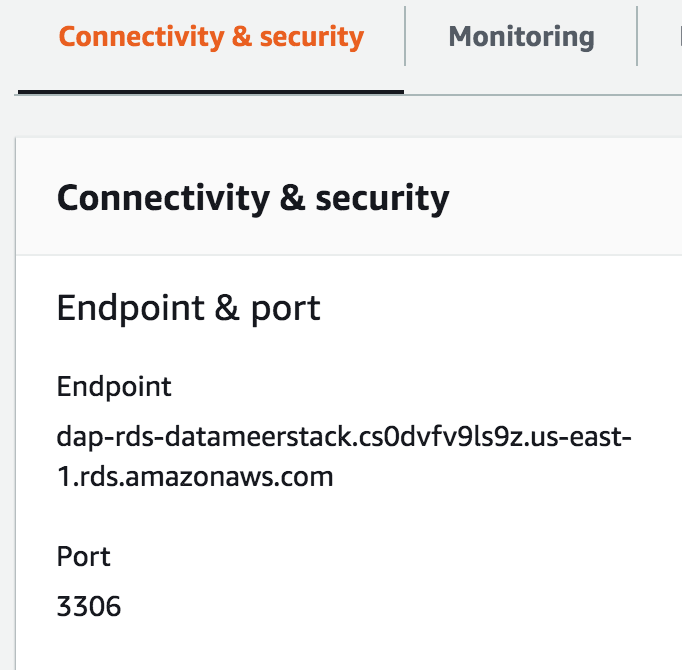
- Obtain Database URL and Port from the RDS Management Console
- Navigate to the Databases section and locate DAP database. Datameer Stack creates database with the DB identifier in the format of "dap-rds-[stack name]"

- Click on the database identifier and navigate to the Database Details page.
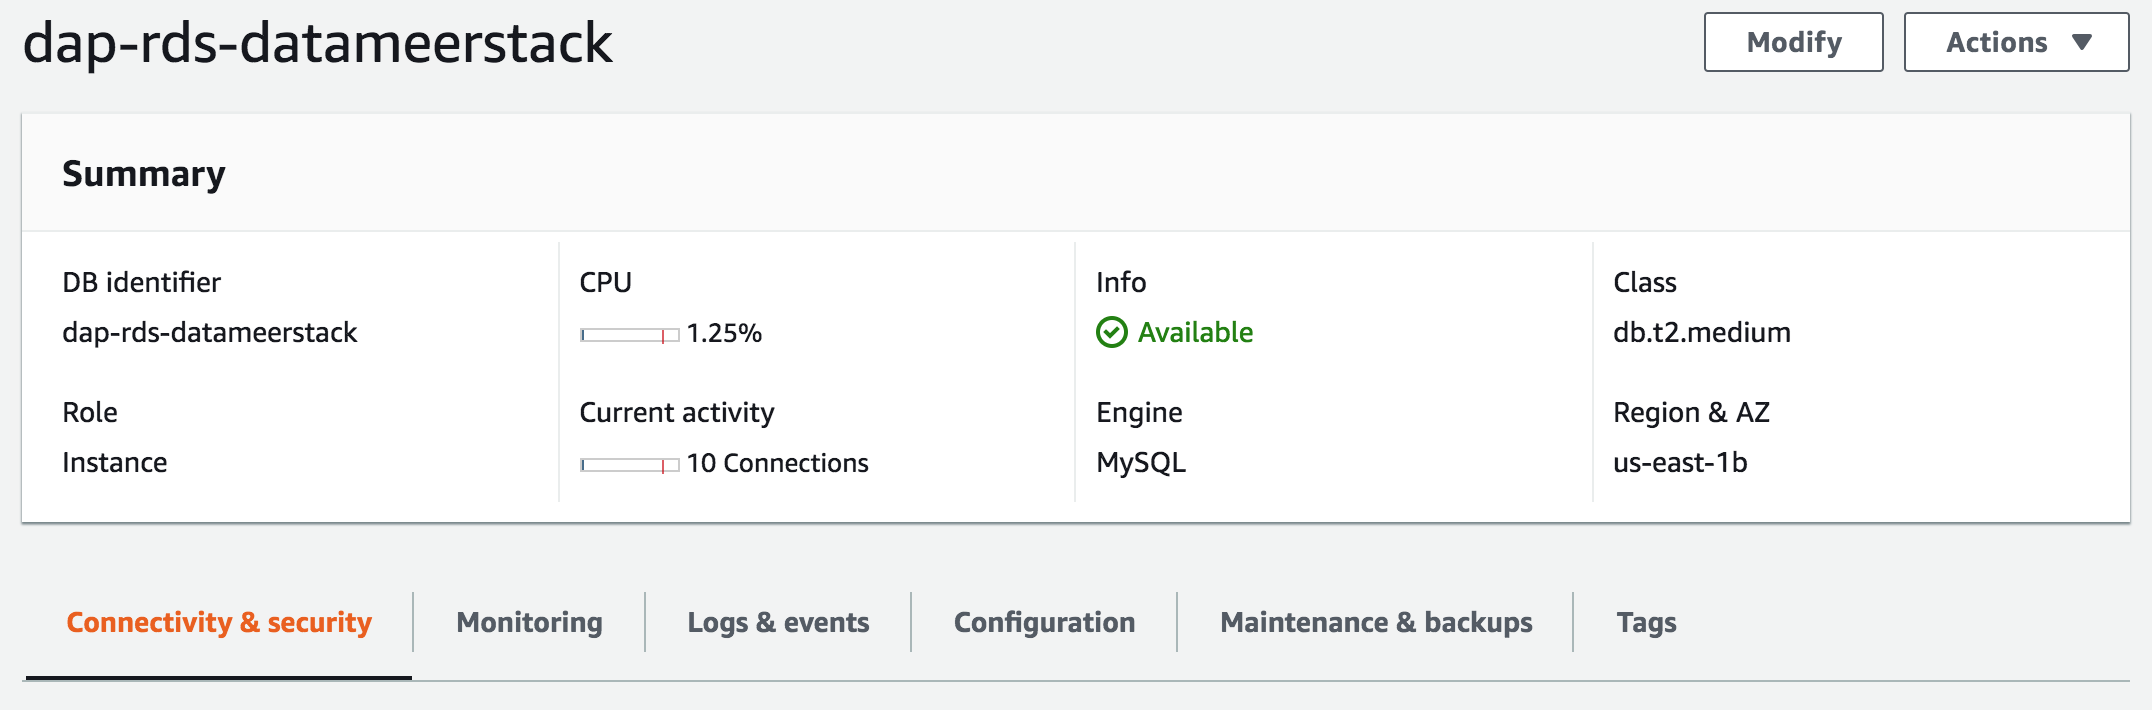
- Select Connectivity & Security tab. Database URL (Endpoint) and Port parameters are available from this page.
- Navigate to the Databases section and locate DAP database. Datameer Stack creates database with the DB identifier in the format of "dap-rds-[stack name]"
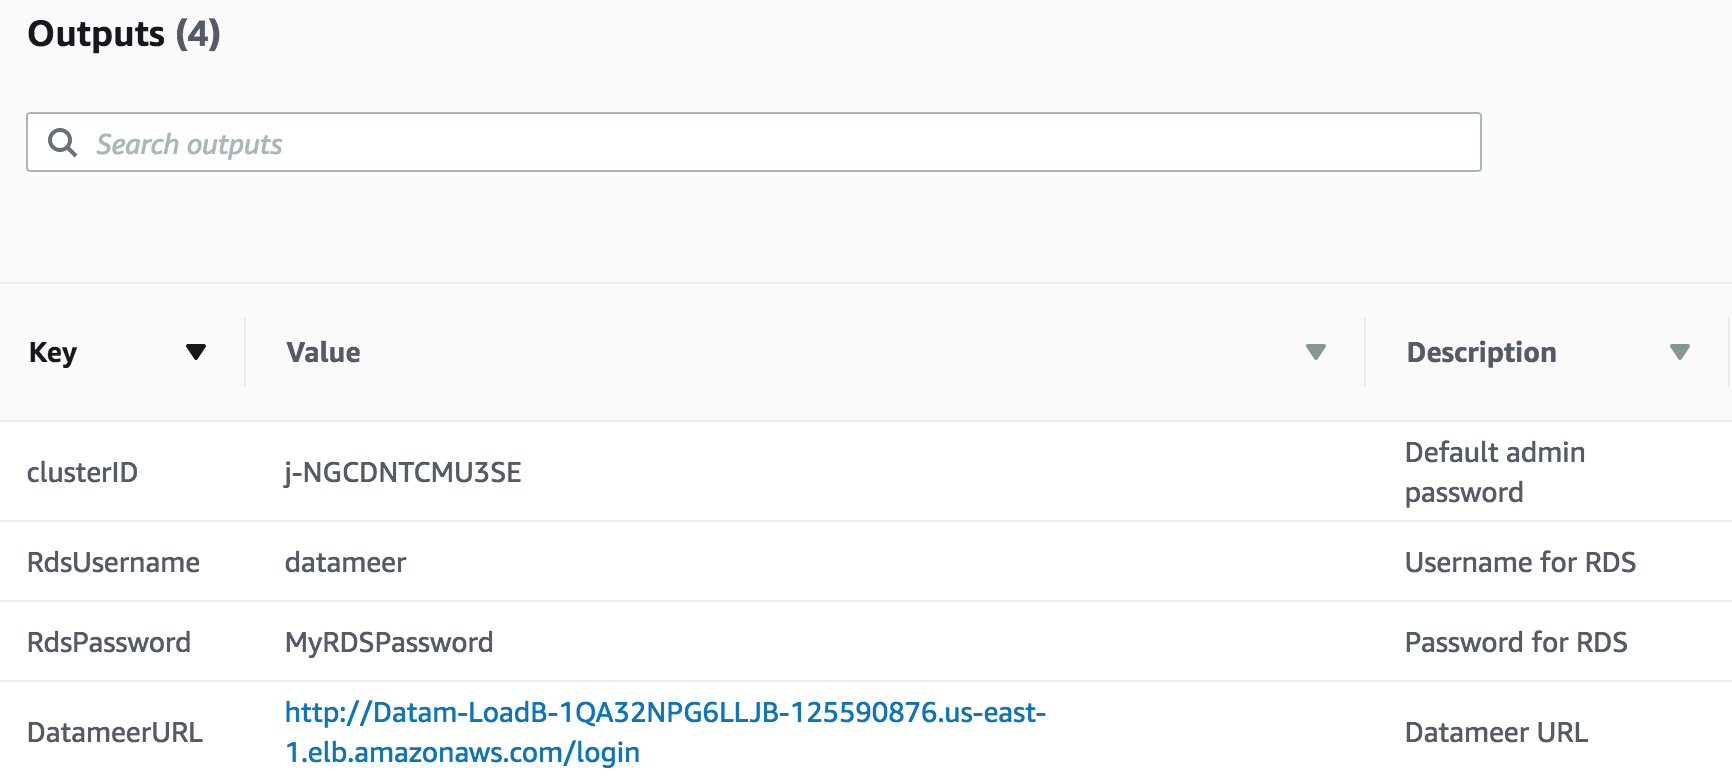
- Obtain Database Username and Password from the CloudFormation Console (RdsUsername and RdsPassword parameters)
- SSH into the Datameer instance. For instructions on how to connect to your instance via SSH, see Connecting to Your Linux Instance Using SSH.
With the new version of Datameer Enterprise the database schema might change. Execute the following command to update the database schema. The script automatically creates the database backup to preserve and restore the data, if needed.
cd /opt/datameer/current
sudo ./bin/upgrade_db.sh -h [DB URL] -o [DB Port] -u [RdsUsername] -p [RdsPassword]
For help with upgrade contact support@datameer.com.