OpenStack Swift
Configuring OpenStack Swift as a Connection
In order to import from OpenStack Swift, you must first create a connection.
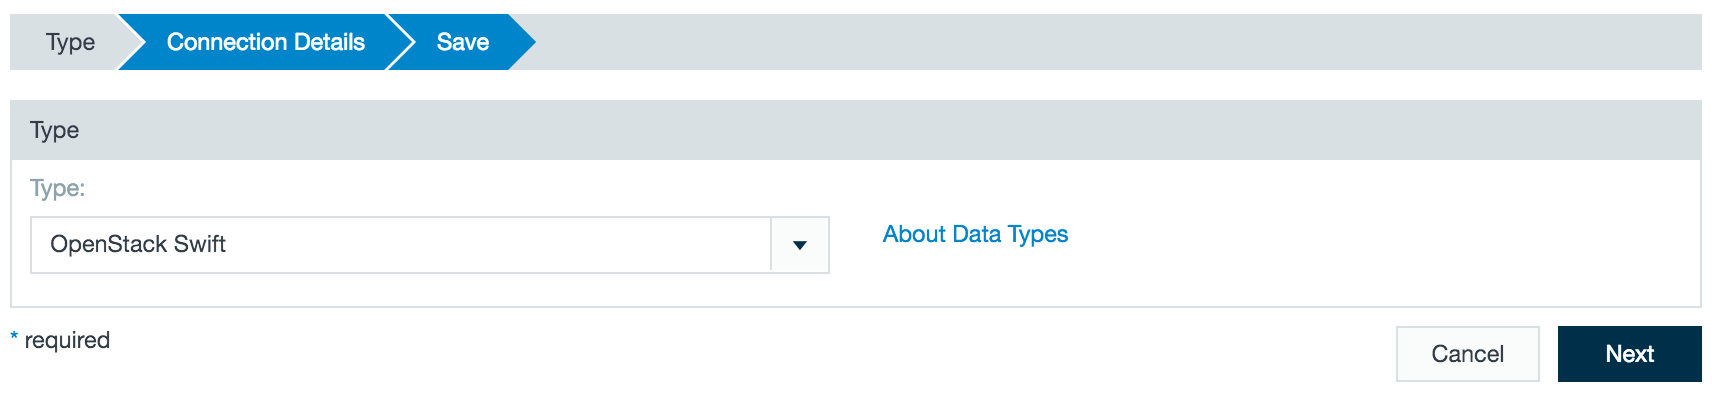
- Click the + (plus) button and select Connection or right-click in the browser and select Create new > Connection.
- From the drop-down list select OpenStack Swift as the connection type.
- Enter the authentication URL.
- Enter the container name where the Swift objects are stored.
- Enter the tenant name, which refers to a specific group of users.
- Enter the user name and password. The API key can be used instead of a password if applicable.
- Add a path from where the data can be imported and/or exported.
- Selected if the connection is used for import, export, or both.
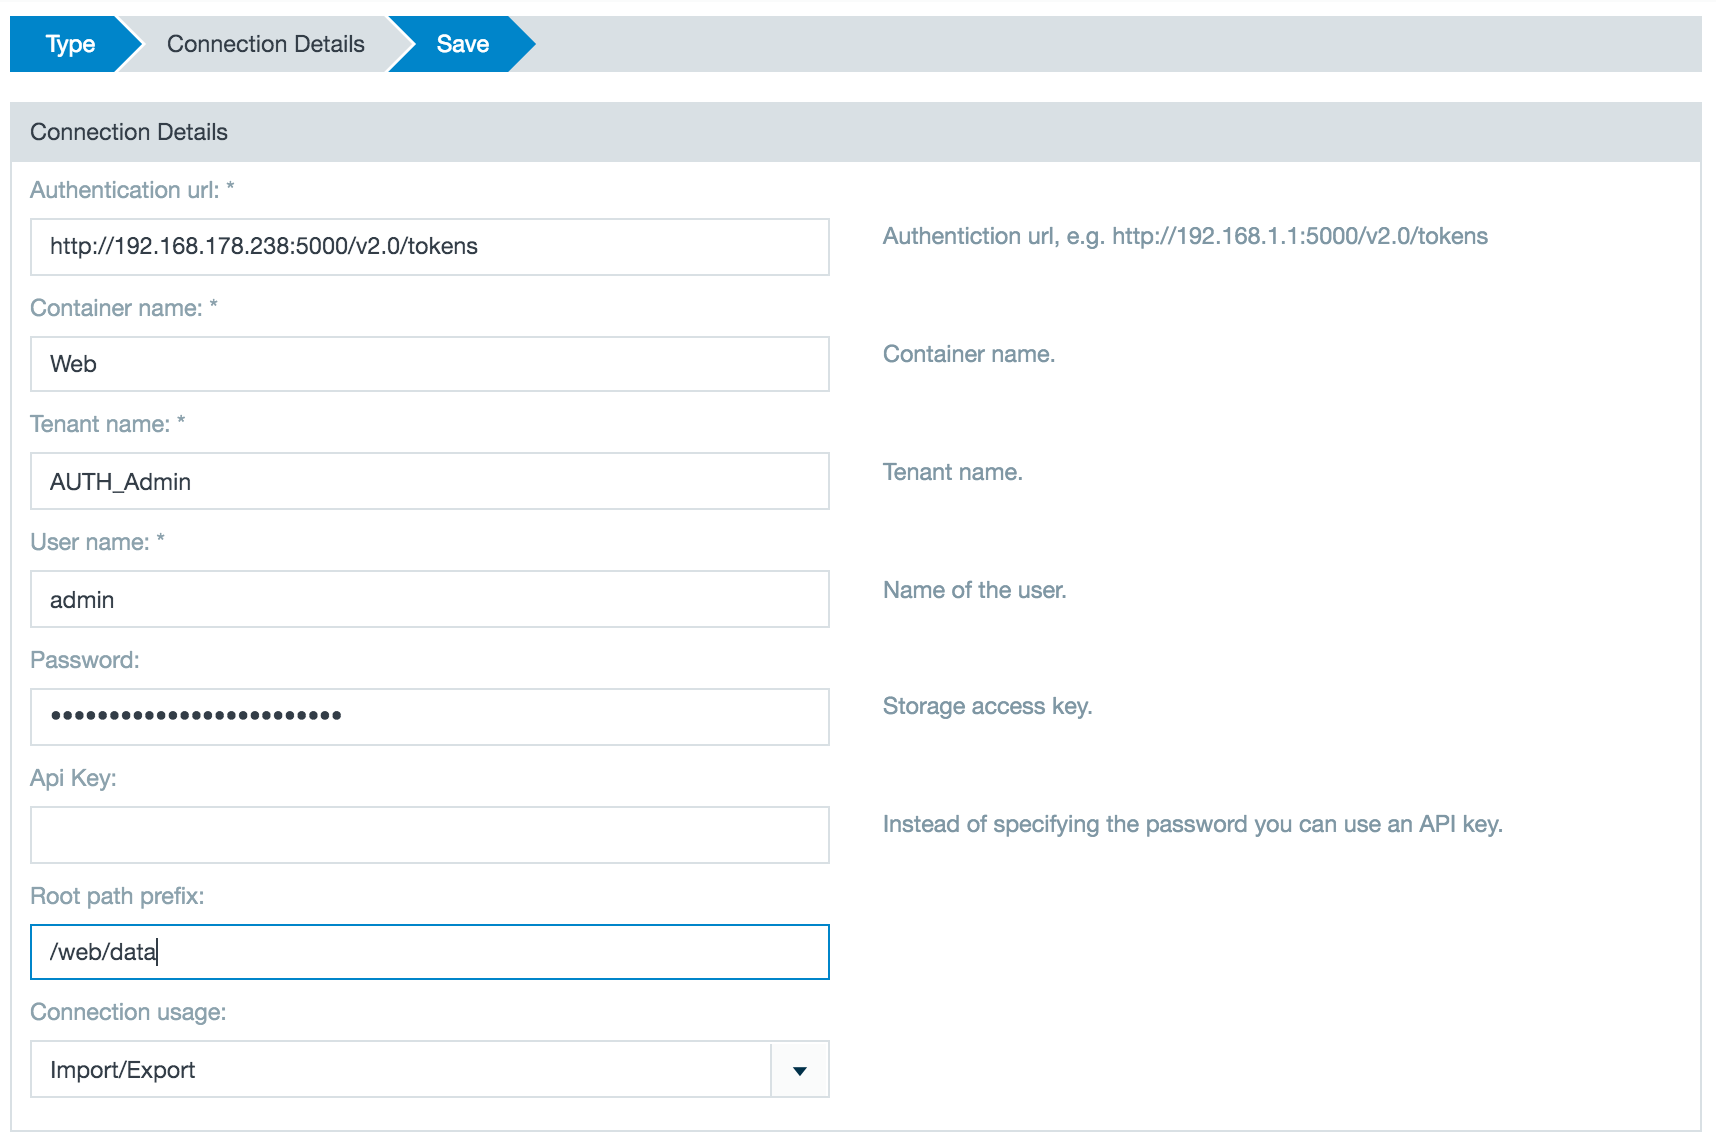
- Click Next and then save the connector.
Importing Data with an OpenStack Swift Connector
After configuring a OpenStack connection the wizard you can set up one or more import jobs which access that OpenStack Swift connector.
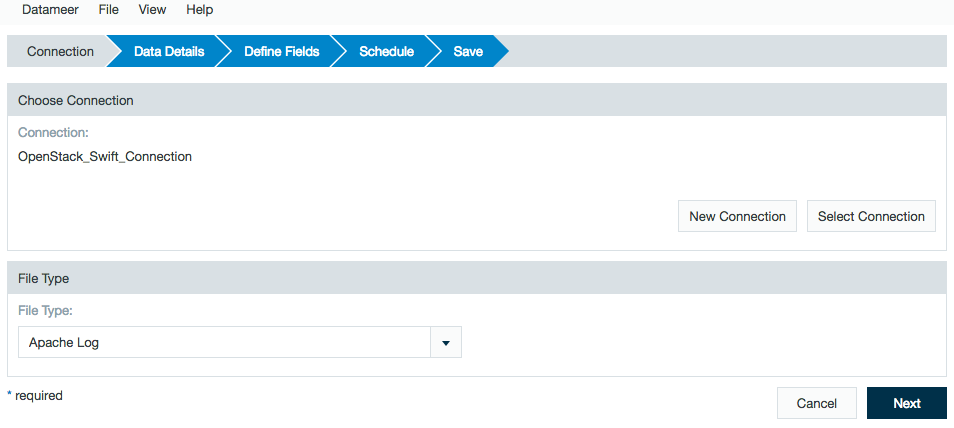
- Click the + (plus) button and select Import or right-click in the browser and select Create new > Import job.
- Click New and choose the name of your Spark connection (here - OpenStack_Swift_Connection) then click Next.
- Select the type of file to import to Datameer.
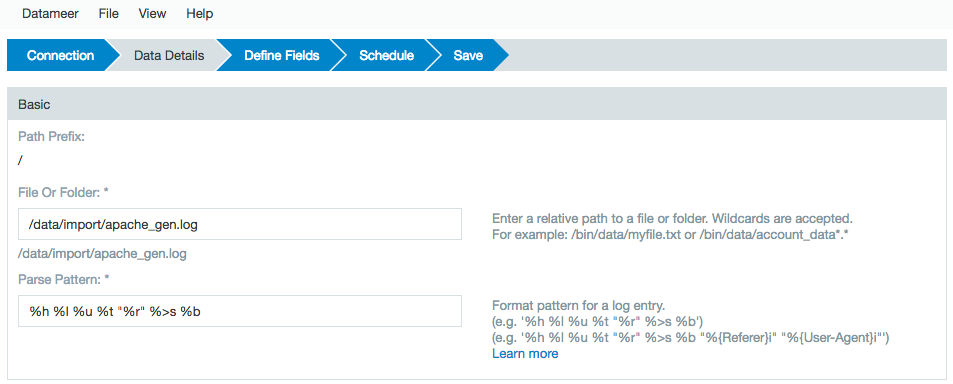
- Add a to the file to import.
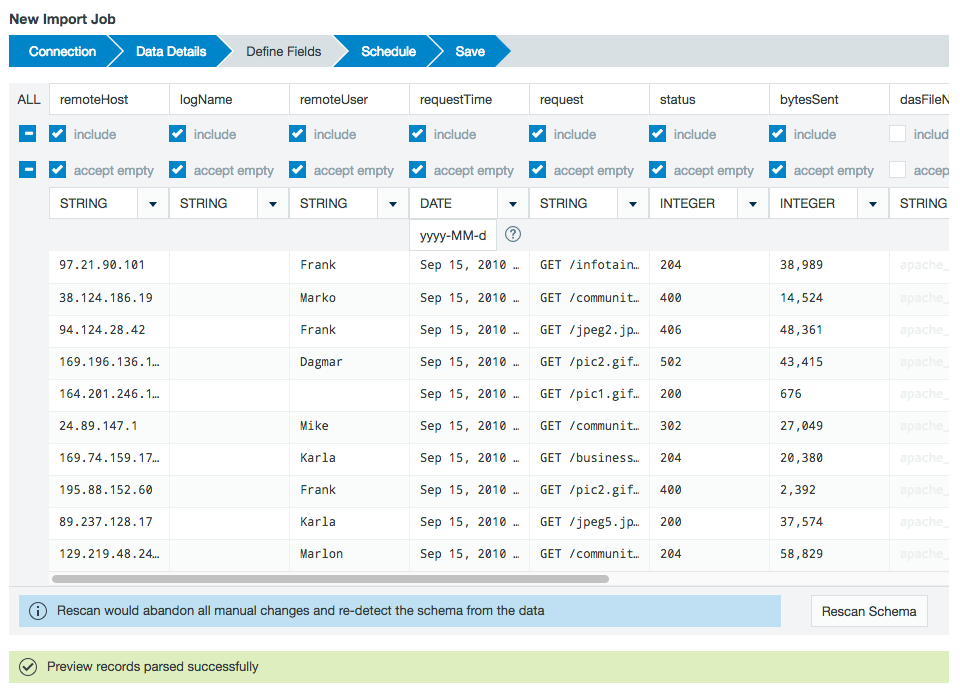
- Add a parse pattern to define the schema of the data.
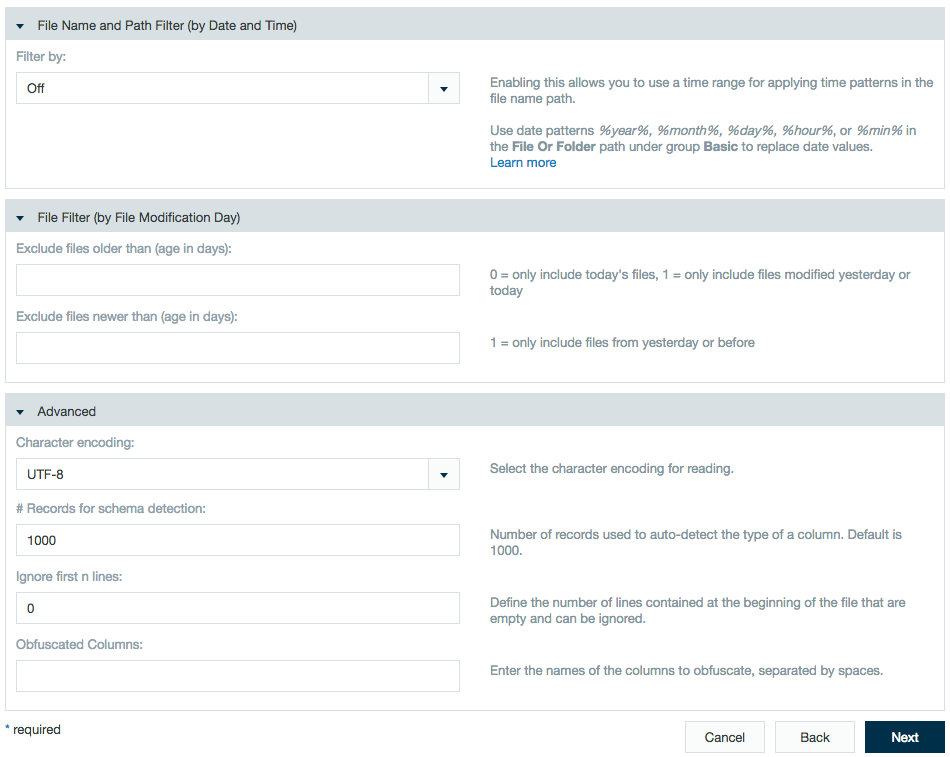
- Optional Settings: Filter by range or time, ignore lines, character coding, number of records to detect, obfuscation.
- A preview of the data to be imported is displayed.
- Set the import to be triggered manually or set to run on a schedule.
- Name and save the import job.
The import job is viewable under the File Browser tab.