Exporting to a Tableau Server
INFO
Datameer supports Tableau version 9 and 10 in the formats HYPER, TDE and TDSX. Older versions might not work as expected and are not supported.
Using the HYPER format requires at minimum operating system CentOS 7 with libc6 version >2.15/ libstdc++6 version >6.1.0.
Local execution can be used but is not scaleable.
INFO
MapR distributions currently don't support the export to a Tableau server in the TDE format. This is due to the maprfs-x.x.x-mapr.jar which can't be changed by Datameer.
Requirement: Configuring Tableau Server as a Connection
A Tableau Server connection with Datameer must be created before exporting data.
INFO
Learn about setting up a connection between Datameer and Tableau Server.
Configuring Export Jobs with Tableau Server
INFO
80 (HTTP) and/or 443 (HTTPS) need to be open to export data from Datameer to a Tableau server.
To export a worksheet to a Tableau connector:
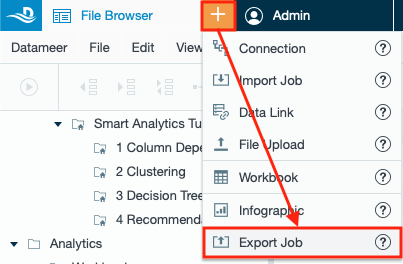
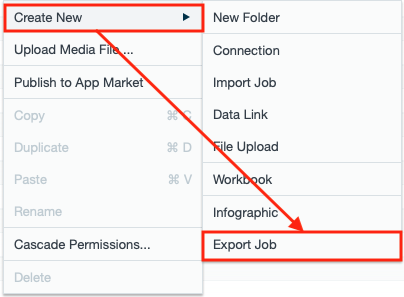
- Click the "+" button and choose "Export Job" or right-click in the browser and select "Create New" → "Export Job". The 'New Export Job' tab appears in the menu bar.
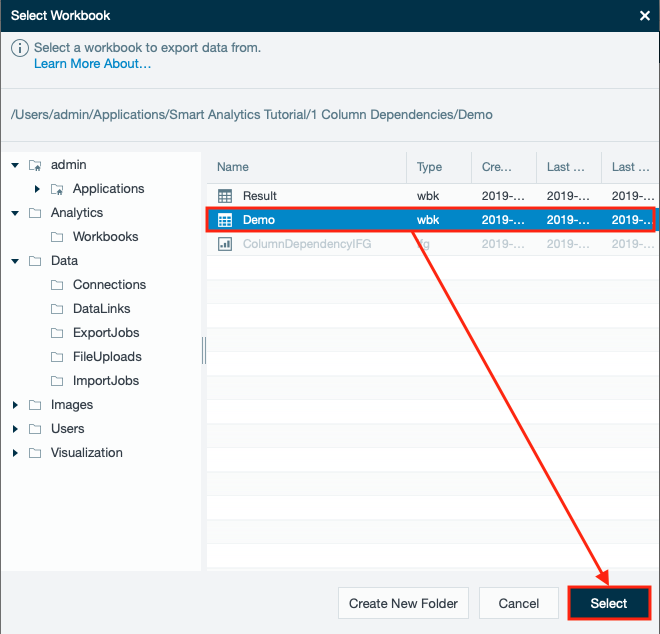
- Select the workbook to export from in the browser by clicking on "Select". The dialog 'Select Workbook' opens.
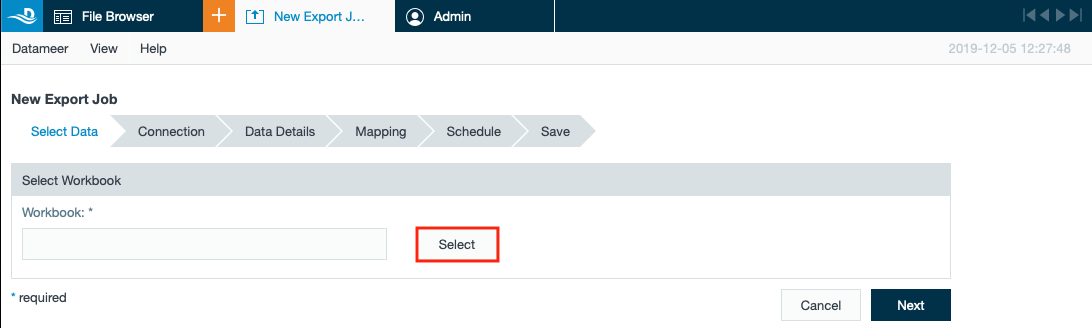
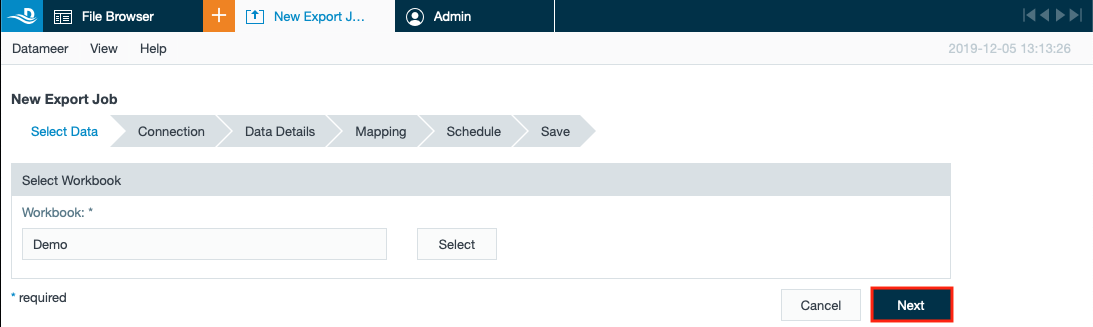
- Select the workbook and confirm with "Select". The name of the workbook appears in the workbook field.
- Click "Next".
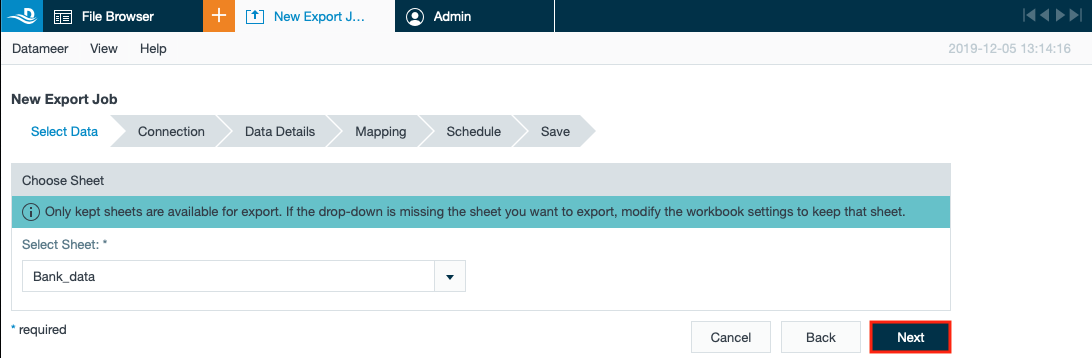
- Select the worksheet to export from out of the drop-down menu. The 'name of the sheet is displayed in the 'Select Sheet' field.
INFO: Only kept sheets are available for export. If the sheet you want to export is missing, modify the workbook settings to keep the sheet.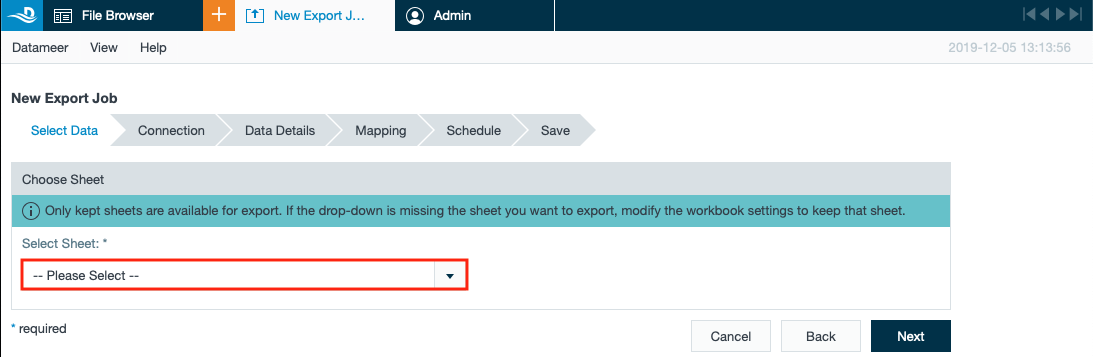
- Click "Next".
- Select the Tableau connector by clicking on "Select Connection". The dialog 'Select Connection' opens.
INFO: If there is already a valid Tableau connection, you'll find it unter 'connection'.
INFO: If there is no valid connection to Tableau Server yet, you can create it here by clicking on "New Connection".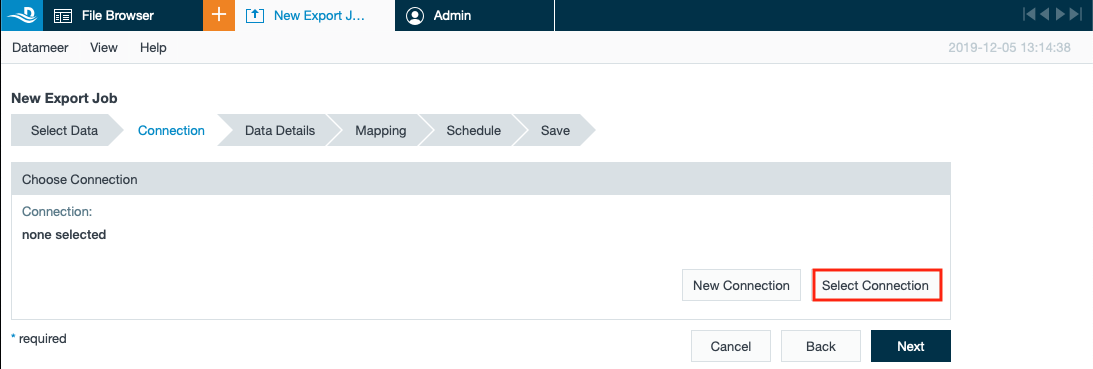
- Select the required Tableau Server connection and confirm with "Select". The selected connection is displayed in the 'Connection' field.
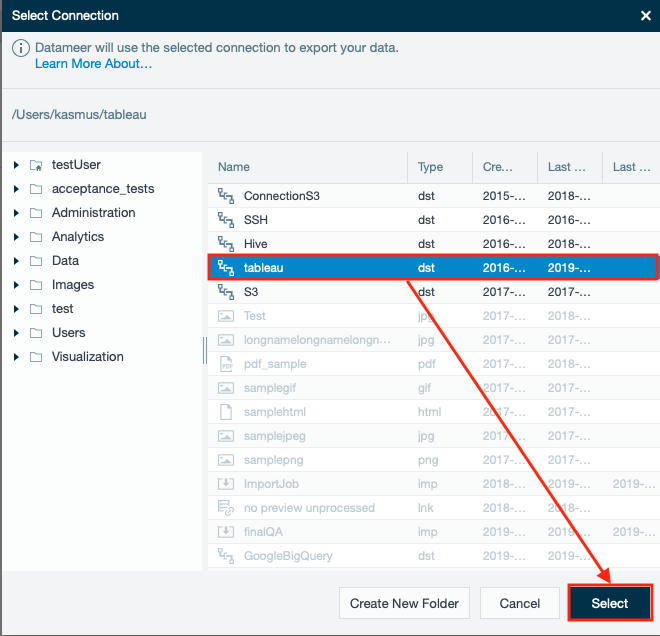
- Click "Next". The 'Data Details' section opens.
- Insert the name where the Tableau data source will be published under in the 'Data source name' field.
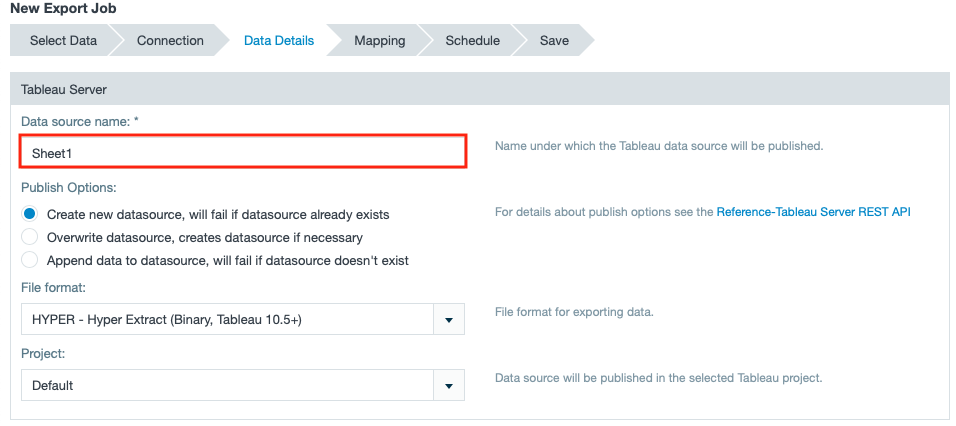
- Select the publish options.
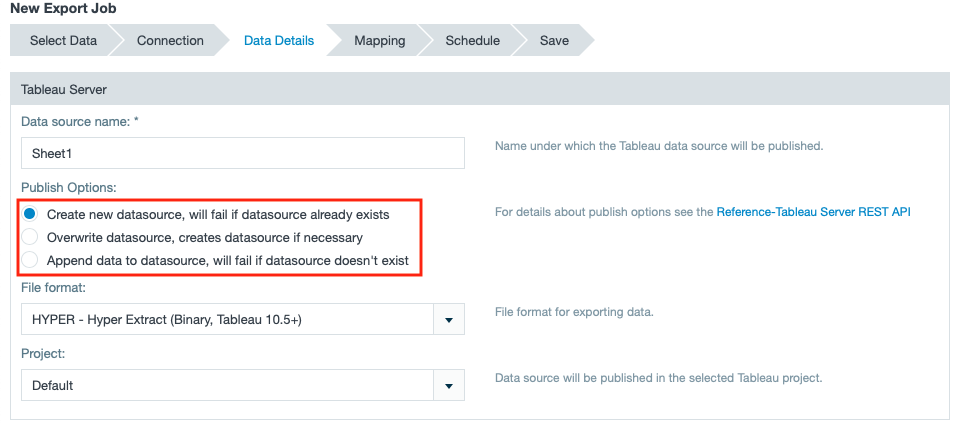
- Select the file format 'HYPER' from the drop-down for exporting data.
INFO: If you don't fulfil the requirements for using the Tableau Hyper file format, select 'TDE'.
INFO: Downloading data without an export job is only possible for the TDSX format.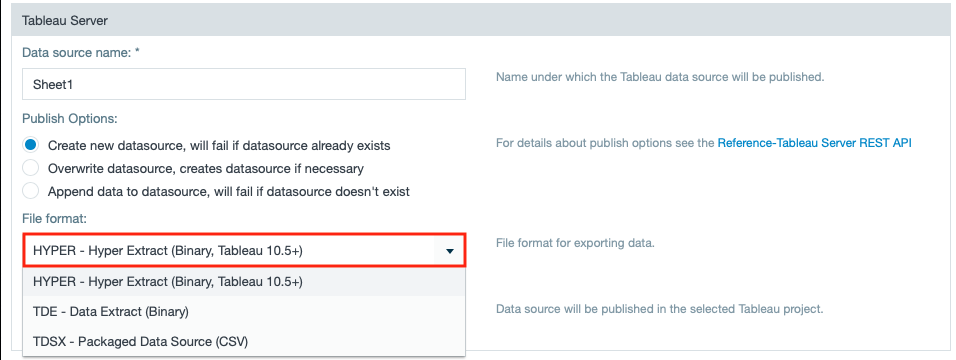
- Select the settings for the owner.

- Enter the upload chunk size.
INFO: You can tune this value in case of network troubleshooting.
- Click "Next". The section 'Mapping' opens.

- Check the preview and decide which columns will be included and whether invalid data is being accepted.
INFO: All checkboxes are activated per default.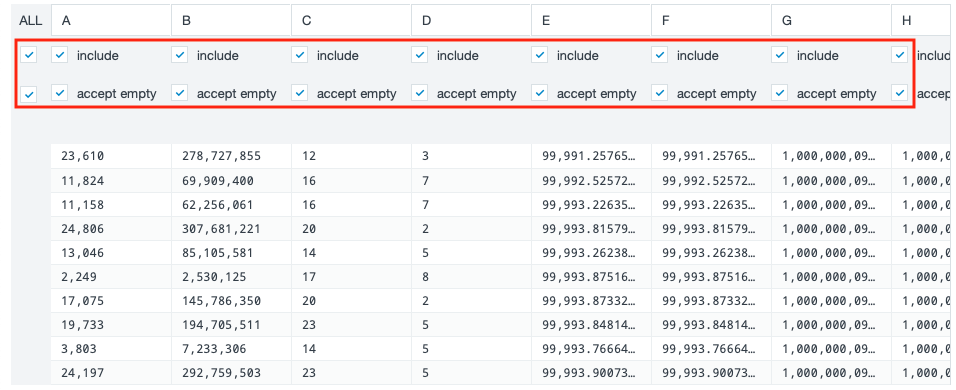
- Decide how to handle invalid data.

- If needed, decide of time-based partitions and click "Next". The section 'Schedule' is shown.
INFO: This chapter only appears, when having partitioned data.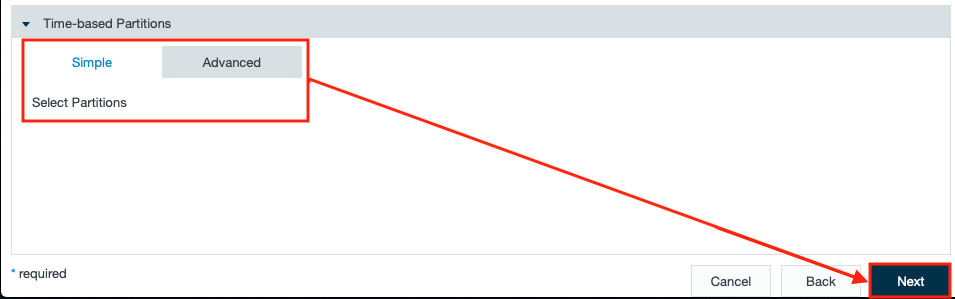
- Select the schedule method for when to run the export job.

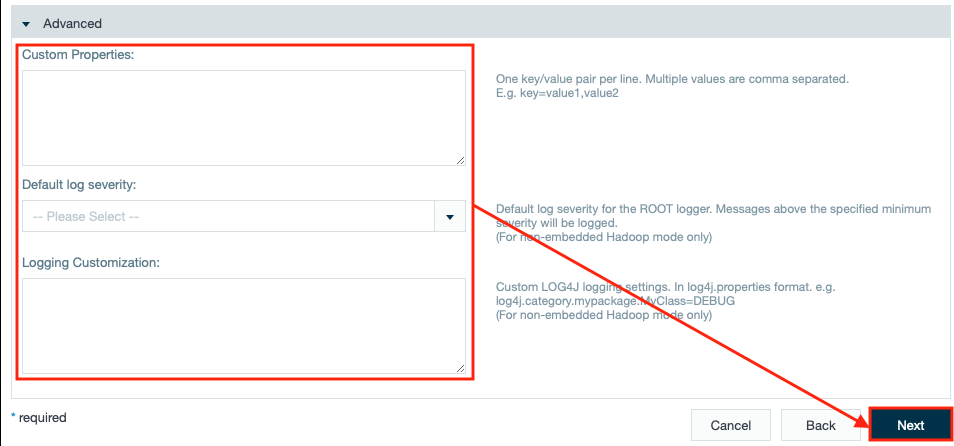
- If needed, add an advanced information, e.g. custom properties and confirm with "Next". The section 'Save' is shown.
- Add a export job description.
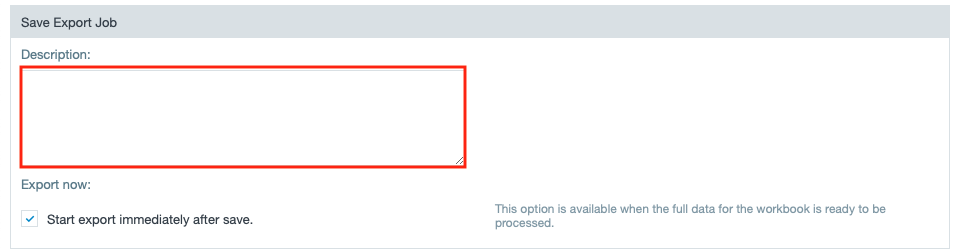
- Mark the check box if you want to have the export job processed right after saving.
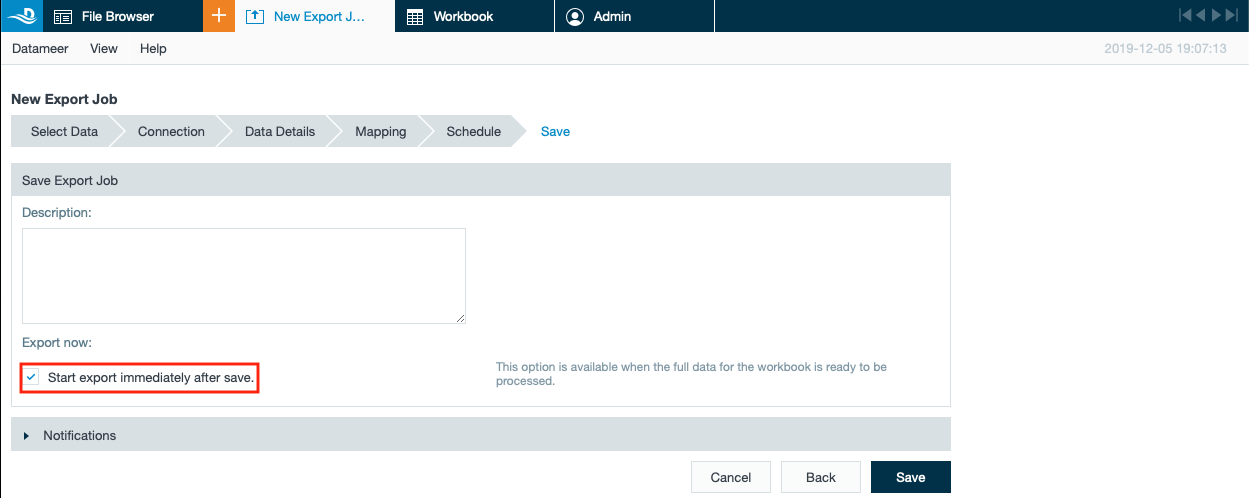
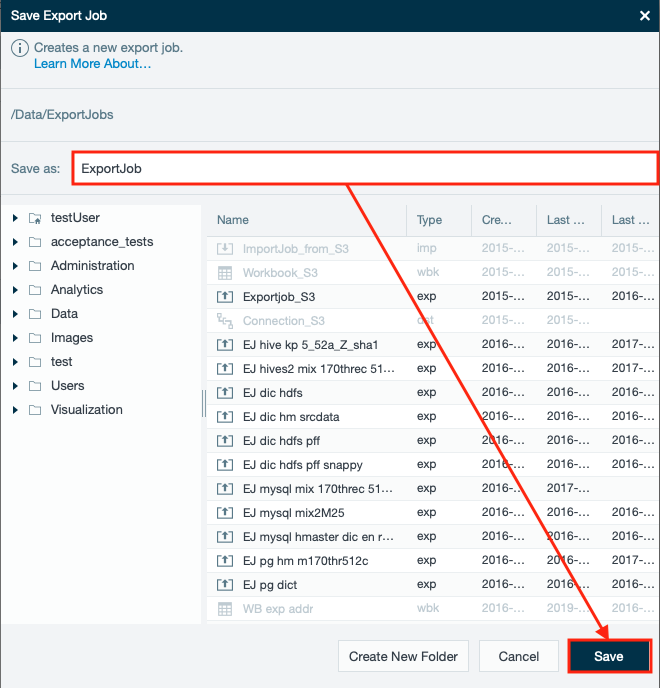
- If needed, add your email address in section 'Notification' and confirm with "Save". The dialog 'Save Export Job' opens.
INFO: Datameer can only send email notifications if an email server has been configured.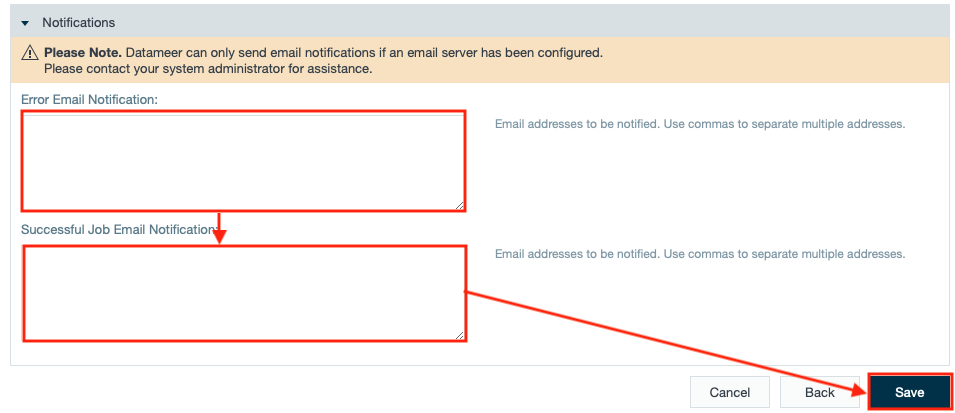
Select the place to save the export job, name it and confirm with "Save". The export job is displayed in the export job. Exporting to a Tableau Server is finished.