Configuring SAML Authentication
Security Assertion Markup Language (SAML) lets users exchange authorization data between different parties, in particular, between an identity provider and a service provider. The Datameer SAML Authenticator is designed to allow Datameer to act as a Service Provider with a SAML SSO (Single Sign On) environment. This means that authentication and identity management happen externally to the Datameer instance. These services are provided by an IdentityProvider which authenticates end users and issue assertions containing subject and session information along with arbitrary attributes about the user. The SAML Authenticator plug-in exposes some extension points to allow customers to provide the appropriate Datameer user details (group memberships, roles, username, email) based on the incoming assertion.
Requirements
The SAML authenticator requires an authentication repository that resolves the available users to your Datameer instance. The SAML authentication repository should have a signed assertion signature, and the clocks between the authentication side and the Datameer side need to be in sync. The authentication side sends an expiration time to their response token. If the clocks are not in sync, the token can be expired or invalid.
You need to implement SAML SSO SDK Extensions to configure SAML authentication.
Configuring SAML with Datameer
- Login to Datameer with administrator rights.
- Click on the Admin tab > Authentication.
- Click Edit.
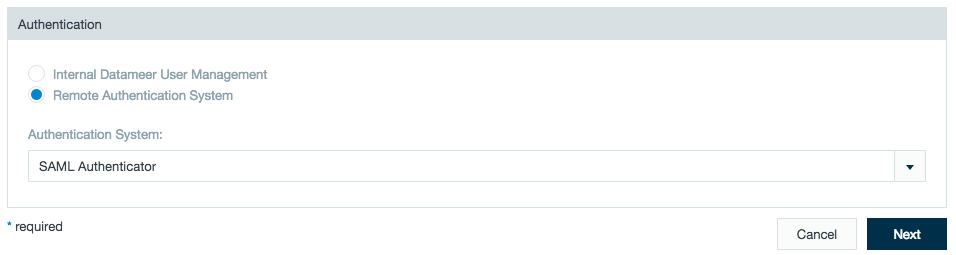
- Select RemoteAuthenticationSystem and choose SAML from the menu.
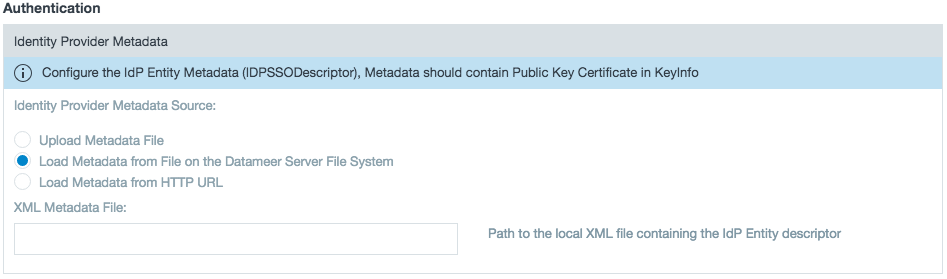
- Provide or provide the path to your IdP Metadata (which includes endpoint URLs, binding types, attributes, and security-policy information.)
- Enter the Uniform Resource Identifier (URI) from the Service Provider. If you are using a third-party single sign-on application, add
/saml/SSOto the end of the URI. Then fill in the KeyStore and Service Provider information.
Learn more about setting up a Java KeyStore in Datameer's Knowledge Base.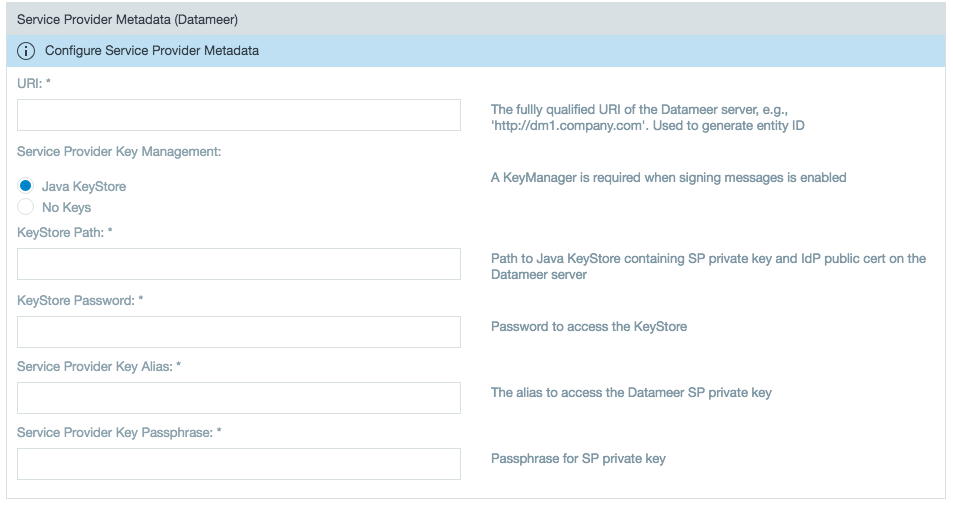
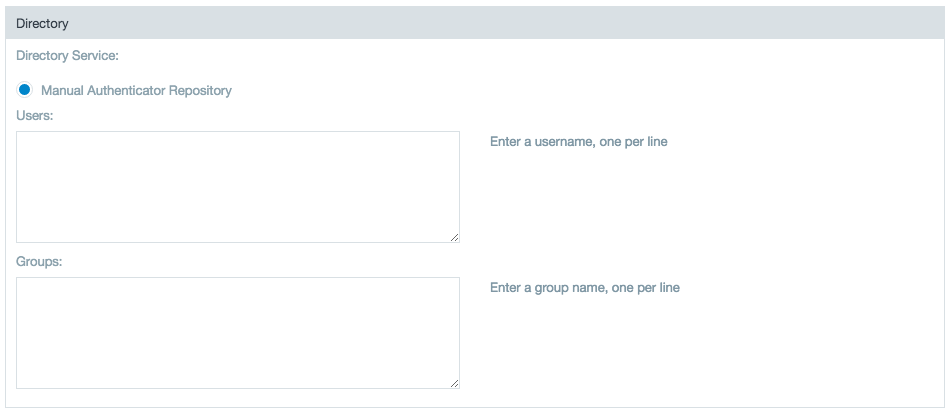
- Select a Directory Service that you set up through the SAML SSO SDK Extensions.
- In the Users and Groups boxes, enter created user/groups for authentication permission.
- Select the user provider with which to authenticate.

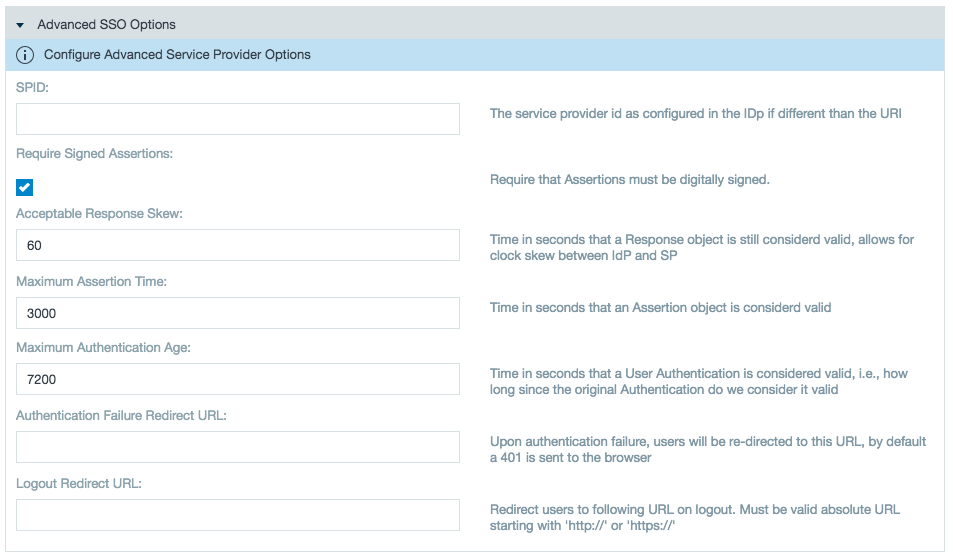
- The advanced SSO options give administrators access control options for authentication.
- Caching is turned on automatically, but you can turn it off or edit the interval for caching on this screen. To turn off caching, click Edit and select an interval of 0.
SAML Debugging
To enable debugging of SAML edit the log4j-production.properties file and add the following:
log4j.category.com.<package_name>=ERROR
#openSAML
log4j.category.org.opensaml=ERROR
log4j.category.org.springframework.security.saml=ERROR
log4j.category.org.springframework.security.web.authentication=ERROR